Roasting Vegetables: The Complete Guide to Temperature, Crowding, and the Chart
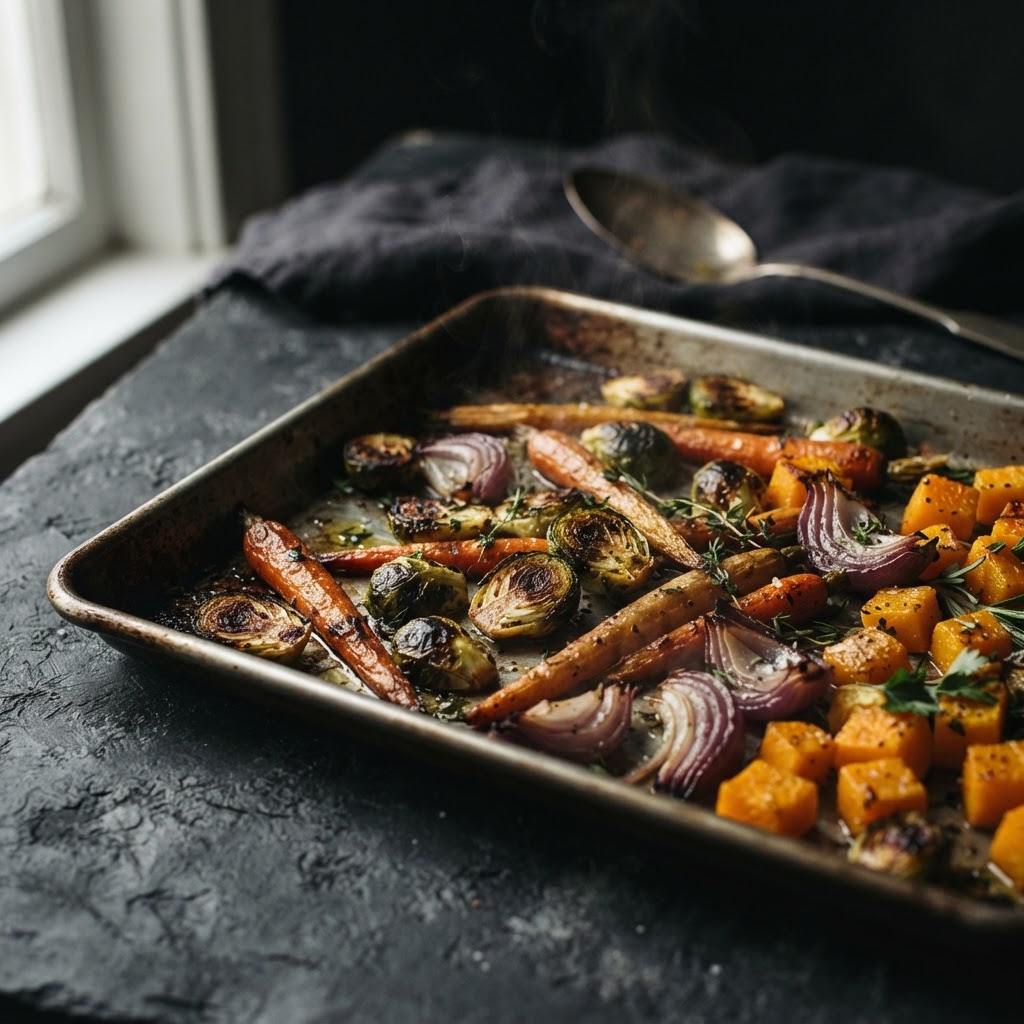
Why the oven makes vegetables taste bigger
The same carrot boiled and roasted are two different foods. Boiling holds the vegetable at 212 degrees at most, moves flavor compounds into the water, and keeps the surface pale. Roasting drives hot, dry air across the cut faces at 400 to 450 degrees, evaporating surface moisture so that the sugars and amino acids concentrate and then react. The result is a browned crust, a dense interior, and a sweetness the boiling pot can never produce.
Roasting is therefore less a recipe than a set of physical conditions. Get the conditions right and nearly any vegetable turns out the same way: deeply browned outside, fully tender inside, tasting more like itself. This guide covers the two browning reactions, the four variables that decide every tray, a chart for the common vegetables, and the fixes for the ways a tray goes wrong.
The science: two reactions make the crust
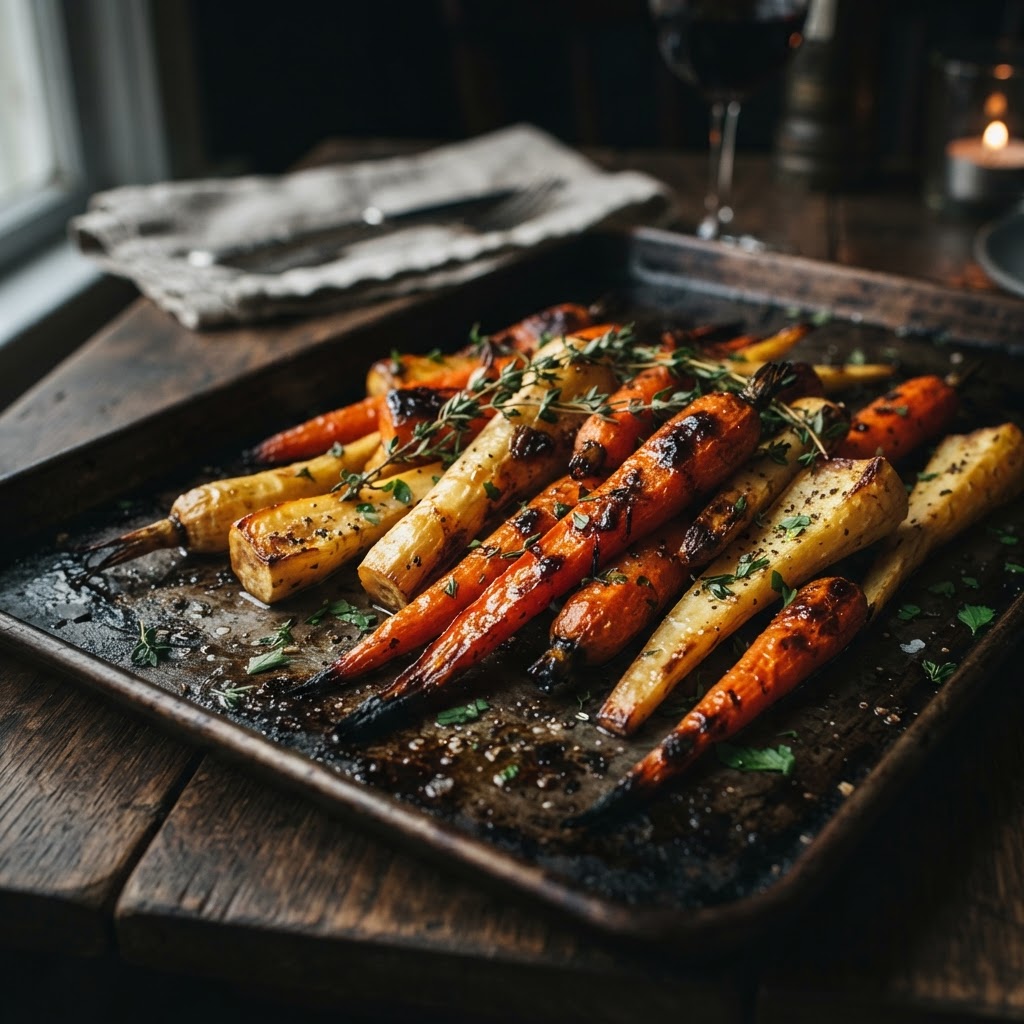
Two different reactions build roasted color and flavor, and understanding where each starts explains nearly every roasting decision.
The Maillard reaction is the broad family of browning between amino acids and reducing sugars. It proceeds slowly at low temperatures but accelerates sharply as surfaces climb past roughly 300 degrees, which is why oven air needs to be far hotter than the target surface temperature. It is responsible for most of the savory, meaty depth on a browned vegetable.
Caramelization is the thermal breakdown of the sugars themselves. Table sugar begins caramelizing in the low 300s Fahrenheit, while fructose, the sugar abundant in onions, sweet potatoes, and pears, caramelizes much lower, which is why those foods brown noticeably faster than potatoes at the same oven setting.
The catch is water. A wet surface is pinned at 212 degrees until it dries, so nothing browns while moisture remains. Every technique below, from patting dry to high heat to giving pieces air, exists to get water off the surface fast and keep it off. A crowded pan fails for exactly this reason: the vegetables steam each other and the surface never dries.
The four variables
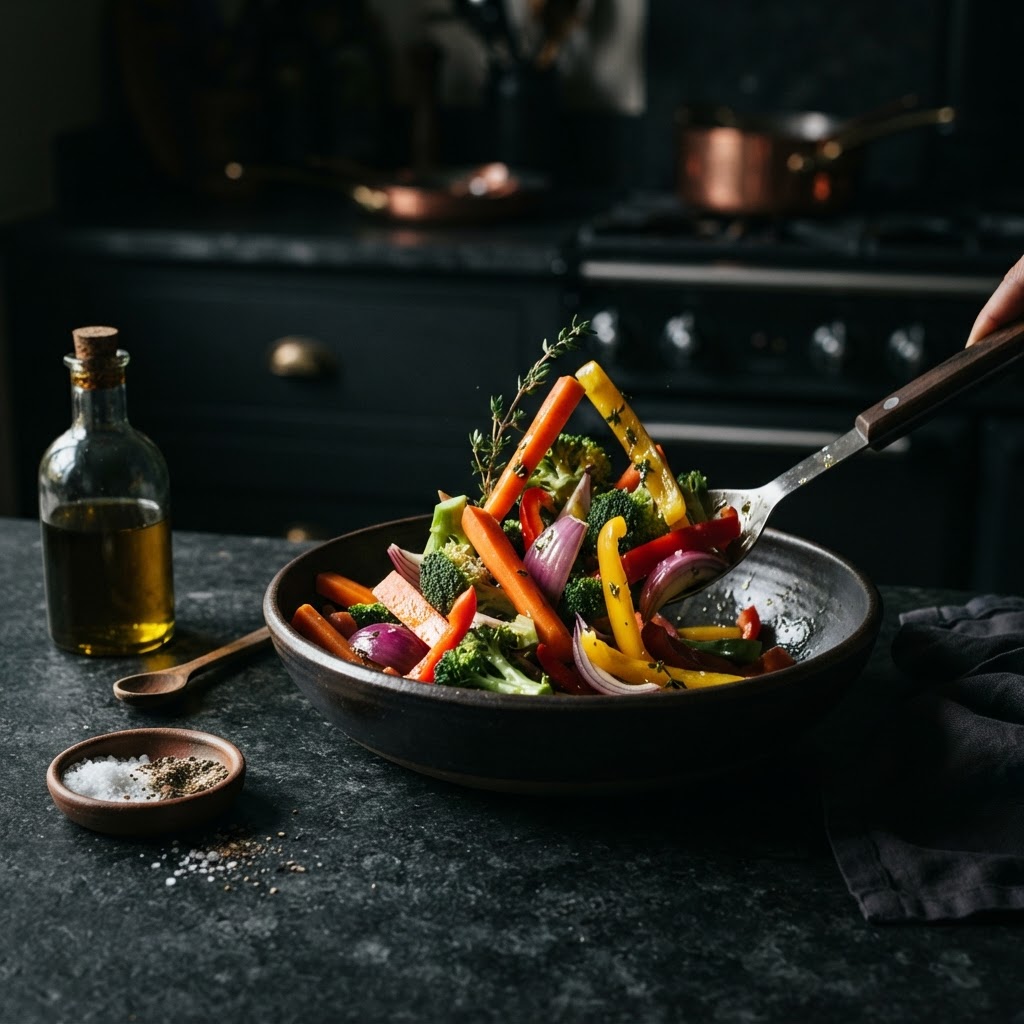
Temperature. Below 400 degrees, most vegetables dry out slowly and brown weakly, which is the classic pale, shriveled tray. 400 to 450 is the working range: dense roots and squash take 425 to 450, tender vegetables and those high in fructose do better at 400 to 425 so the edges do not burn before the centers soften. When a recipe only says high heat, use 425 and adjust by result, not by clock.
Fat. Oil is a heat conductor, not just seasoning. It fills the microscopic gaps between pan and vegetable, transfers oven heat into the surface, and carries the fat-soluble flavors browning creates. Roughly one to two tablespoons per pound of vegetables is the working range. Too little and the surfaces scorch where they touch metal and stay pale where they do not; too much and the vegetables shallow-fry and turn greasy. Neutral high-smoke-point oils are the default; save butter for the last five minutes, because its milk solids burn at roasting temperatures.
Cut and surface area. More cut face means more browning. Halved Brussels sprouts brown on the flat face; coins of carrot have two faces to toast. The rule that matters more: uniform size. Mixed sizes are why one edge blackens while a neighboring piece is still raw. Cut to roughly equal pieces, or group by density and give dense vegetables a head start.
Air and crowding. This is the variable that ruins the most trays. Roasting is convection around each piece; when pieces touch, they trap steam between them, the local humidity pins surfaces at 212, and the tray steams. One layer, space between pieces, and if the pan is full anyway, use two pans rather than one crowded one.
The roasting chart
Times assume a preheated oven, pieces of roughly one inch, a lightly oiled or parchment-lined sheet pan, and a single uncrowded layer. Dense items roast longer halved or whole than cubed. When in doubt, go by color and fork-tenderness rather than the clock.
| Vegetable | Oven | Approx. time | Notes |
|---|---|---|---|
| Potatoes, cubed | 425 | 35-45 min | Parboil 5 minutes for shatter-crisp edges; flip once |
| Sweet potatoes, cubed | 425 | 25-35 min | High fructose: check at 25, edges caramelize fast |
| Carrots, batons or halved lengthwise | 425 | 25-35 min | Splits caramelize; cut fat carrots in half lengthwise |
| Parsnips, as carrots | 425 | 25-35 min | Sweetest of the roots; watch tips, they burn first |
| Beets, whole in foil | 400 | 60-75 min | Steam-roast in a sealed packet; peel when cool enough to handle |
| Butternut squash, 1-inch cubes | 425 | 25-35 min | Halve and roast cut-side down 45-50 min for a scooped puree |
| Brussels sprouts, halved | 400 | 20-30 min | Cut face down first, then toss; browned leaves are the point |
| Broccoli, florets | 425 | 18-25 min | Browned tips are correct, not a defect |
| Cauliflower, florets | 425 | 25-35 min | Plain steams into nothing; roast until flat faces turn walnut |
| Red onion, wedges | 400 | 25-30 min | Keep root end intact so wedges hold together |
| Bell peppers, strips | 450 | 20-25 min | Char blisters skin; steam in a bowl to peel if desired |
| Zucchini, half-moons | 425 | 20-25 min | High water: salt 15 min ahead and pat dry |
| Eggplant, thick planks or cubes | 425 | 25-30 min | Drinks oil; brush rather than toss to keep it from going greasy |
| Mushrooms, whole or halved | 450 | 15-20 min | Nearly no browning until water leaves; then fast |
| Asparagus, spears | 425 | 10-15 min | Roast hot and short; limp asparagus is overcooked asparagus |
| Green beans | 425 | 15-18 min | Toss once; pull at the first deep wrinkle |
| Cherry tomatoes | 400 | 20-25 min | Blister, collapse, concentrate; do not stir |
| Cabbage, thick wedges | 425 | 25-30 min | Cut faces sweeten and char; core holds the wedge |
The method, step by step
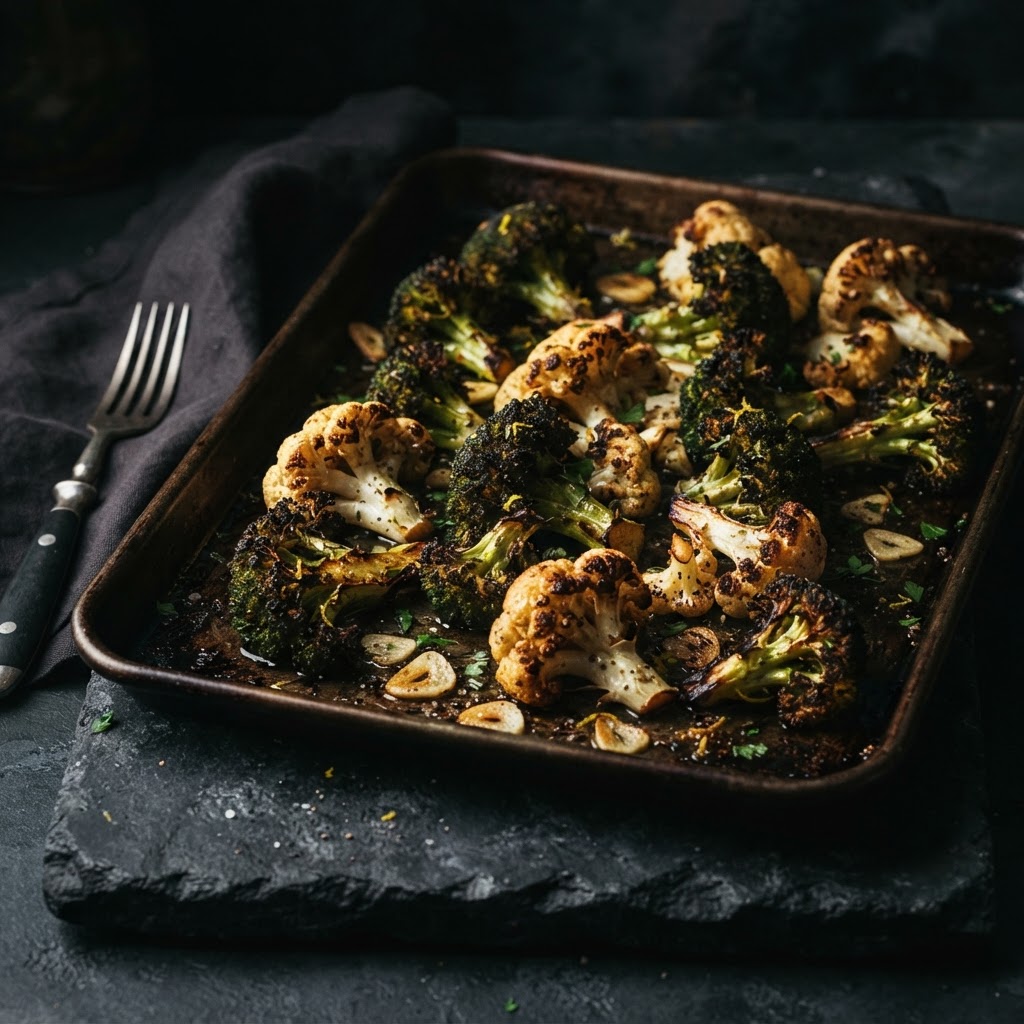
Preheat the oven with the empty sheet pan inside. A pan that starts hot sears the first face on contact instead of slowly warming the oil, and it is the closest a home oven gets to a restaurant flat-top.
Meanwhile, cut uniform pieces and toss them in a bowl with oil and salt until every face glistens, rather than drizzling on the pan, which leaves some pieces dry and the pan puddled. Salt matters twice: it seasons and it pulls moisture to the surface, where heat can drive it off. Spread in a single layer, cut faces down where possible, with air between pieces.
Roast undisturbed for two-thirds of the estimated time, then flip or toss once. Leaving the tray alone early on is what builds the crust; constant stirring keeps the pieces steaming in their own turned moisture and shaves the brown off. Pull the tray when edges are dark and centers yield to a fork, remembering that carryover finishes the tray outside the oven for a minute or two.
Finish off the heat: a squeeze of lemon or a splash of vinegar to lift the sweetness, soft herbs scattered while the tray is still hot, and for anything that stuck, a scrape of the fond, the browned bits, loosened with a splash of liquid and spooned back over the pieces. Stuck-on brown is flavor, not a mess.
When the tray goes wrong: diagnostics
One habit fixes most of this table: look at the tray, not the timer. Color and a fork tell you what a clock cannot.
| Symptom | Probable cause | Prevention or fix |
|---|---|---|
| Pale, wrinkled, dry but no color | Oven too low; surface never dried | Raise to 425-450; preheat the pan; pat wet vegetables dry first |
| Soggy, steamed texture, wet spots on the pan | Crowding; pieces touching | Single layer with air gaps, or split across two pans |
| Burned edges, raw centers | Pieces too large for the temperature; fructose-heavy food too hot | Cut smaller and uniform, drop to 400-425 for sweet vegetables |
| Browned but bland | Under-salted; no acid at the end | Salt in the bowl before roasting; finish with lemon or vinegar |
| Greasy, collapsed pieces | Too much oil; high-water vegetable drowned | One to two tablespoons per pound; salt zucchini and eggplant ahead and pat dry |
| Stuck to the pan, torn surfaces | Cold pan or too little oil under the pieces | Preheat the pan; parchment for delicate items; oil in the bowl, not a drizzle on top |
| Scorched garlic, herbs burned black | Added at the start of a long roast | Add garlic, butter, and soft herbs in the final 5-10 minutes |
| Uneven results, some perfect some raw | Mixed sizes on one tray | Cut to equal size, or roast dense items on a separate tray with a head start |
| Mushrooms gray and boiled-looking | Crowded pan; temperature too low for their water load | 450 with space; they brown only after their water leaves |
Combining vegetables on one tray
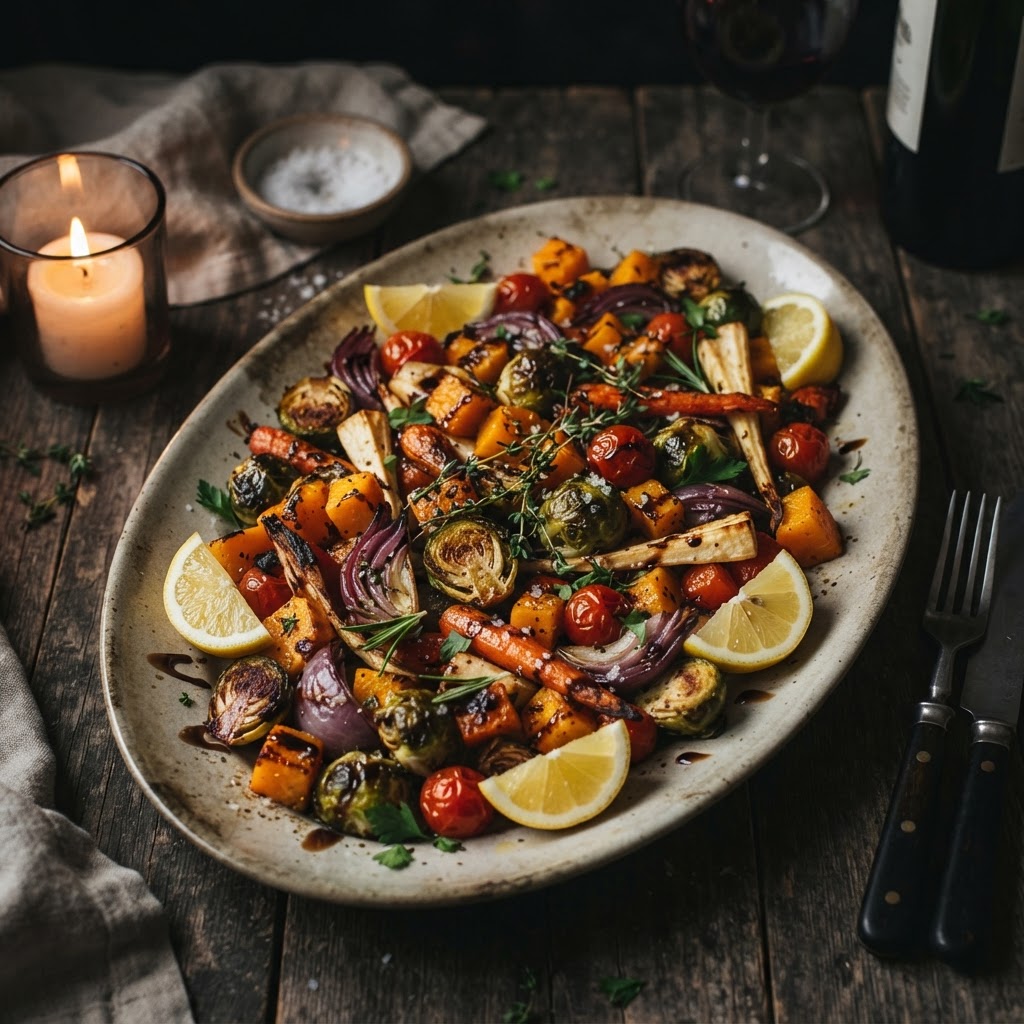
A single mixed tray works if you respect density. Give dense roots a ten-to-fifteen-minute head start, then add the faster items, so every piece finishes browning at the same moment. Group by neighborhood: roots and squash together, brassicas together, onions and peppers with the quick items. Two small trays beat one crowded tray, and pans can be rotated and merged at the end.
The roast is also a base for bigger dishes. Browned vegetables become the body of a soup with nothing but a blender and stock, the filling under a fried egg for lunch, the soft sweetness under a sharp vinaigrette for a salad that does not need lettuce, or a one-pan dinner finished with a protein in the final stretch of the timer.
SavorovaS is an Amazon Associate. Some links on this page are affiliate links, and we earn from qualifying purchases. We recommend products based on professional kitchen practice, not on commission.
Cook with Savi